Lift the Room: Fresh Ceilings with Paint and Stencil Magic

Today we dive into painting and stenciling techniques to refresh tired ceilings, turning a dull plane into a quiet statement overhead. You’ll learn prep, color choices, pattern planning, and application tips that create crisp edges, luminous finishes, and lasting results without stress or mess.

Assess and Repair Like a Pro

Mark discoloration, nail pops, and tape seams with painter’s tape, then address each deliberately. Feather joint compound over cracks, sand smooth with a pole sander, and prime stains with shellac or strong water-based blockers. These careful fixes stop telegraphing under light, letting paint and stencil edges look intentionally flawless.

Clean, Degloss, and Dust Control

Ceilings collect film and fine dust that repel fresh coatings. Wash with TSP substitute, rinse lightly, and scuff glossy areas with a sanding sponge. Vacuum edges, crown, and fixtures, then mask generously. Keeping surfaces squeaky clean dramatically reduces roller slippage, improves adhesion, and limits specks that mar translucent glazes or metallic stencil layers.

Color, Light, and Sheen Strategy

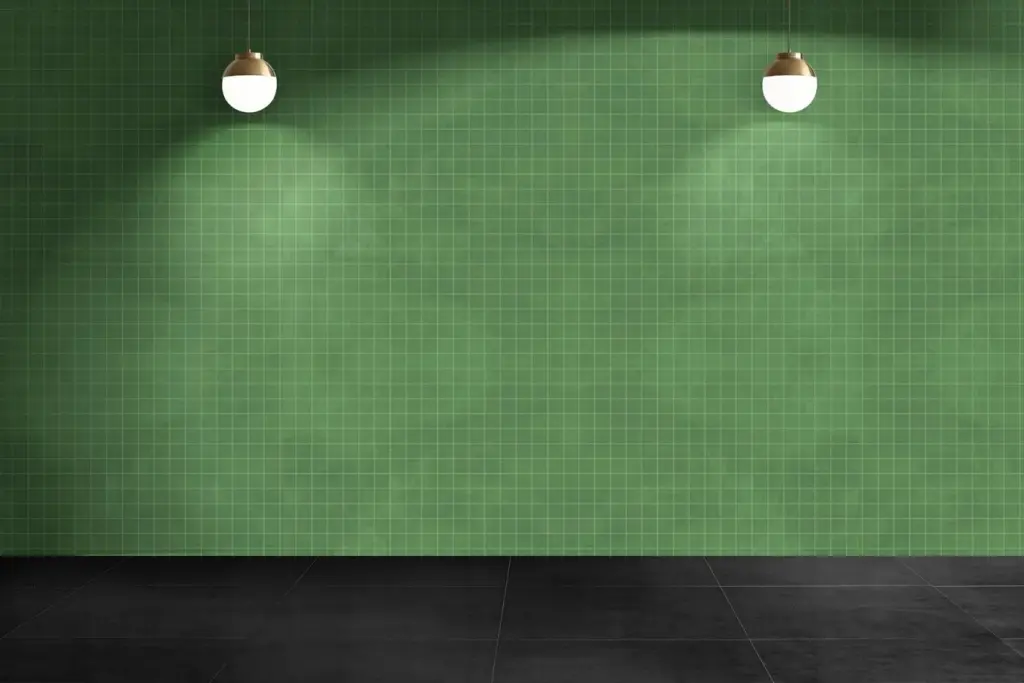
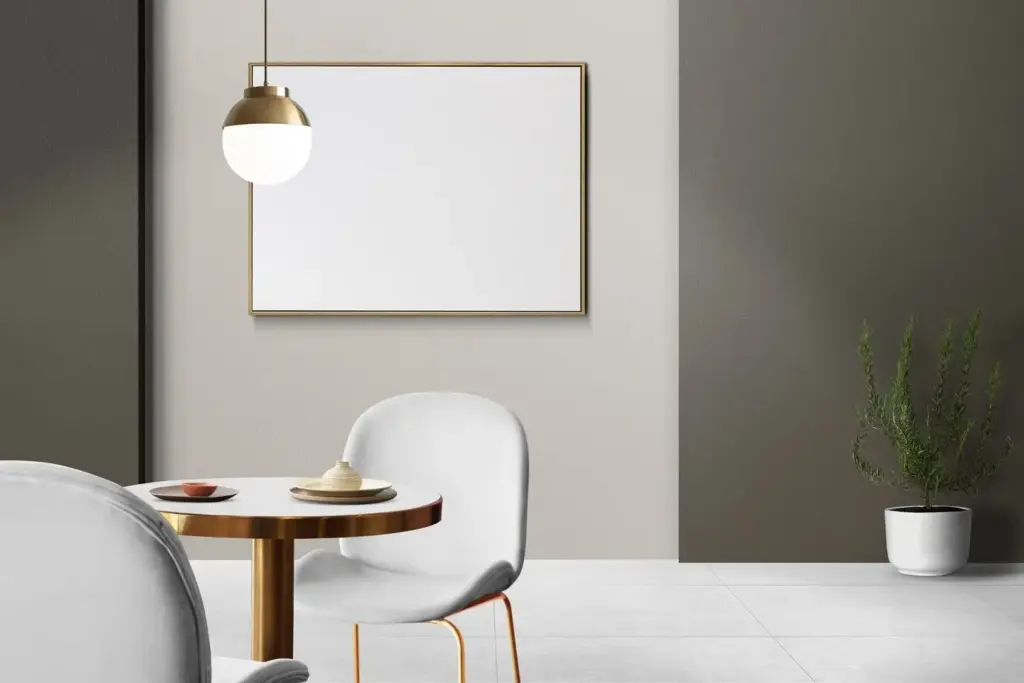
Ceilings bend light across every surface in the room, so strategy matters. Understanding reflectance, undertones, and sheen helps you lift perceived height, soften acoustics, and spotlight stencil work. We’ll explore calming whites, moody mid-tones, and glimmering accents that cooperate with daylight, lamps, and architectural details rather than fighting them.

Scale, Center, and Grid

Map the room with a laser level and chalk lines to locate the true center, then test pattern scale with printed proofs. Large motifs suit spacious rectangles; tighter repeats flatter compact rooms. Establish a grid that reaches doorways and windows so cuts land symmetrically and corners resolve gracefully.

Materials That Obey

Choose reusable mylar around ten mils for durability without stiffness, and mist the back with repositionable spray to prevent creep. Low-tack tape reinforces edges, while a firm stencil brush or dense foam roller, thoroughly offloaded, lays pigment thinly so lines stay clean even over mild texture.

Registration and Repeat Confidence

Add tiny registration triangles outside the design and overlap them consistently; erase or touch up later. Work from the most visible zone toward concealed edges, checking alignment every third repeat. Breaking frequently to stretch prevents sloppy placement and keeps your focus fresh as the pattern advances.

Application Techniques for Flawless Results

The difference between okay and exceptional overhead work comes from technique. From cutting along crown without lap marks to pouncing stencils without bleed, small habits pay off. Equip extension poles, manage paint load, and pace yourself with sections that dry uniformly so sheen and edges remain consistent.

Roller Mastery Overhead

Use a lightweight extension pole and 3/8-inch microfiber cover, loading moderately and off-rolling on the tray ridge. Work in overlapping lanes, keeping a wet edge and finishing each section with gentle, single-direction passes. This evens texture, minimizes spatter, and sets the stage for razor-sharp stenciling later.

Cutting-In, Fixtures, and Edges

Score tape at the joint with a sharp blade before removal to avoid lifting fresh paint. Turn off power, drop the light canopy carefully, and mask the base. A steady angled brush, lightly loaded, forms crisp borders that make subsequent stencil borders or medallions align perfectly around the fixture.

Bleed Control and Offloading

Dip, then work excess paint into a paper towel until the brush feels almost dry. Pounce vertically or swirl gently, never pushing paint beneath edges. For ultra-crisp lines, seal stencil edges by first dabbing the base color, letting it dry, then applying the accent color minimally and patiently.

Creative Effects that Lift the Room

Beyond flat paint and simple repeats, nuanced finishes can add depth without overwhelming the space. Think soft metallic veils, subtle ombré, or a compass-rose medallion that echoes hardware tones. Thoughtful restraint keeps ceilings elegant, draws eyes upward, and complements furniture rather than competing for attention or daily comfort.

Safety, Workflow, and Confident Finishing

Working overhead is demanding, but thoughtful setup protects your body and finish. Ladder stability, eye protection, and timed breaks keep judgment sharp. Plan logical quadrants, track drying windows, and finish with patient touch-ups and cleanup so edges, fixtures, and patterns look intentional long after the last coat cures.
Viperipepitoxovoro
Privacy Overview

This website uses cookies so that we can provide you with the best user experience possible. Cookie information is stored in your browser and performs functions such as recognising you when you return to our website and helping our team to understand which sections of the website you find most interesting and useful.