Goodbye Popcorn Ceilings: Clever Low-Cost Cover-Ups That Wow

Today we’re focusing on transforming popcorn ceilings with low-cost covering options, turning dated texture into a clean, inviting finish without gut renovations. From paint strategies and peel-and-stick panels to lightweight planks, mouldings, and fabric solutions, you’ll find practical steps, safety notes, and budget tips that real homeowners used to refresh rooms over a single weekend.

Plan Smart, Spend Less

Before choosing a cover-up, evaluate condition, ceiling height, and potential hazards. Many older textures may contain asbestos; avoid disturbance and consider encapsulating approaches when professional testing indicates risk. Map joists, note fixtures, and plan clearances for doors and cabinetry so your new layer looks intentional, saves money, and installs with confidence.

Assess What You’ve Got

Look closely for stains, cracks, or previous repairs that might telegraph through new materials. If the home predates late 1980s, send a small sample to a certified lab rather than sanding. Where safe, gently scrape high peaks, vacuum dust, and mark low spots to level under panels.

Budget Breakdown That Breathes

Compare material-only costs per square foot: paint and primer from about $0.40 to $1.20, beadboard or MDF panels around $1.25 to $3.50, PVC tiles $2.00 to $4.00, wood planks $2.50 to $5.00. Add adhesives, nails, caulk, and optional furring, plus ten percent for waste and surprises.

Tools and Timing

Line up a sturdy ladder, eye protection, respirator, stud finder, caulk gun, construction adhesive, brad nailer or screws, roller with thick nap, and drop cloths. A small bedroom ceiling often fits into a weekend: prep Friday evening, install Saturday, finish and touch up Sunday.

Refresh With Rollers and Light

Paint remains the cheapest disguise when the texture is sound and safe to encapsulate. High-build primers lock in dust and stains, while flat finishes reduce glare that exaggerates bumps. Paired with thoughtful lighting choices, a careful coating can make the ceiling recede and the room feel restful and new.

Prime for Success

Clean gently with a damp microfiber mop, then apply a stain-blocking primer rated for porous, textured surfaces. Use a 3/4-inch nap roller to load product without drenching. Work in one direction, keep a wet edge, and resist over-rolling, which can pull granules and leave patchy, uneven sheen.

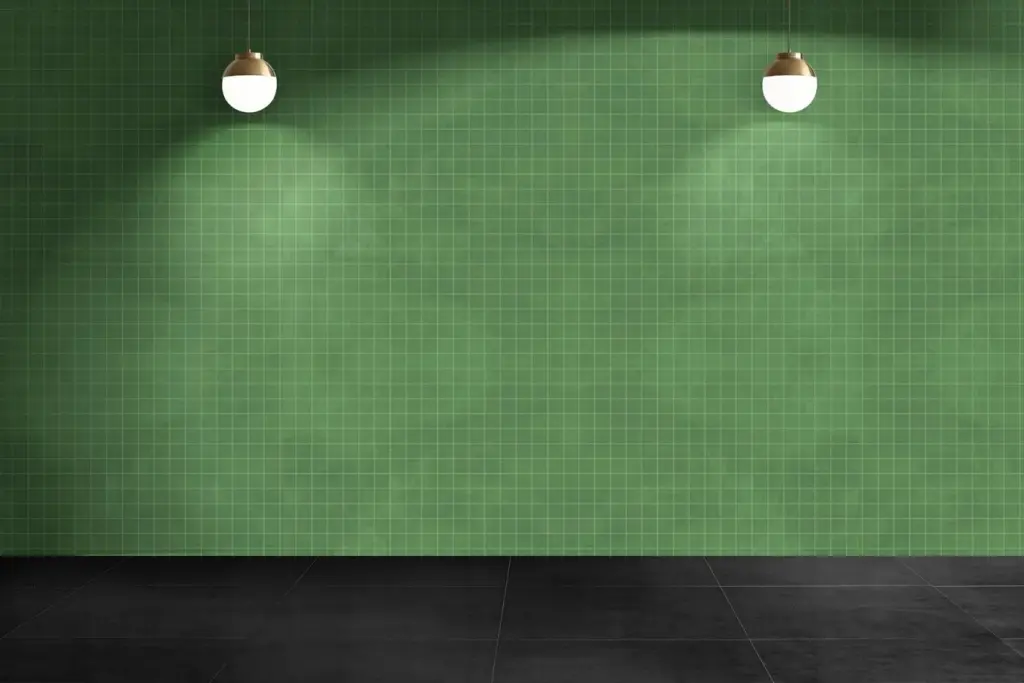
Color Tricks That Calm

Choose soft, low-sheen whites or pale tints that absorb rather than reflect raking light. Slightly warmer tones pair with wood floors, while cool whites lift low rooms. Paint crown and ceiling the same color to blur intersections, simplifying lines so texture reads subtle and intentionally quiet instead of busy.

Beadboard Panels on Furring

Locate joists, then fasten 1×2 furring perpendicular with screws rated for ceilings. Pre-prime panels, run full sheets across the room, and stagger seams. Use construction adhesive plus a brad nailer, then caulk joints and paint. The crisp grooves distract the eye and make the surface read fresh and finished.

Peel-and-Stick Tiles Done Right

Degrease thoroughly, snap chalk lines, and dry-fit the first quadrant before removing backers. Many ceilings benefit from additional adhesive beads to fight gravity. Trim with lightweight moulding or finished edges. Metallic-look PVC brightens dim rooms and disguises texture so convincingly that guests assume a custom, painstaking tin installation.

Real Wood or Faux Wood Planks

Acclimate planks in the room for at least forty-eight hours, then work from the longest wall. Tongue-and-groove edges keep lines tight; face-nail at edges into furring. A satin clear coat reflects less light, making remaining irregularities fade while the warm material becomes the star overhead.

Fabric, Wallpaper, and Textiles for Soft Finishes

Textiles and heavy wallpaper add softness, reduce echoes, and cleverly cloak stubborn texture when rigid materials are impractical. Fabric panels stretch across discreet tracks, while paintable wallpapers embrace subtle pattern you can recolor later. These solutions keep weight low, preserve height, and invite creativity without demolition or dust storms.

Mouldings, Lines, and Light to Redirect Attention

Pre-paint tall crown, install after coverings, and caulk both edges to create sleek transitions that read purposeful. Where height is tight, add a trim band lower as a picture rail to pull attention downward. A reader reported guests stopped noticing the texture once the graceful frame went up.
Use slim 1×2 battens to form a cofferlike grid over panels, aligning with room proportions and major furnishings. Symmetry organizes the ceiling into calm fields, making prior bumps visually irrelevant. Pre-finish on sawhorses, then tack in place, fill holes, and touch up for crisp, gallery-level order overhead.
Swap harsh cans for diffuse fixtures, like shaded flush mounts, perimeter uplights, or bounced LED strips on top of moulding. Avoid wall washers that graze the ceiling. Warmer temperatures and dimmers flatter subtle variations, letting your new covering shine as a cohesive, comfortable plane rather than a spotlighted patchwork.

Keep It Safe, Clean, and Celebrated

When to Call a Pro

If testing indicates asbestos, a licensed professional should manage removal or approved encapsulation. Likewise, call an electrician before changing fixtures or burying junction boxes. Excessive sag, widespread stains, or structural cracks warrant inspection. Spending for expert guidance at pivotal moments protects budgets, health, and the beautiful finish you just achieved.

Quick Care Routine

Dust quarterly with a microfiber mop, working lightly to avoid snagging. Spot clean PVC or painted panels with diluted dish soap and a barely damp cloth. Recaulk fine seams as seasons shift. Keep bulbs low-heat and fixtures ventilated so adhesives remain stable and surfaces stay bright without yellowing or haze.

Share Your Makeover

Post before-and-after photos, measurements, and costs so others can learn from what worked. Ask questions about adhesives, primers, or layout, and subscribe for weekly project breakdowns. Your insights might be the missing nudge a nervous DIYer needs to finally cover dated texture and enjoy a brighter, calmer room.
Viperipepitoxovoro
Privacy Overview

This website uses cookies so that we can provide you with the best user experience possible. Cookie information is stored in your browser and performs functions such as recognising you when you return to our website and helping our team to understand which sections of the website you find most interesting and useful.